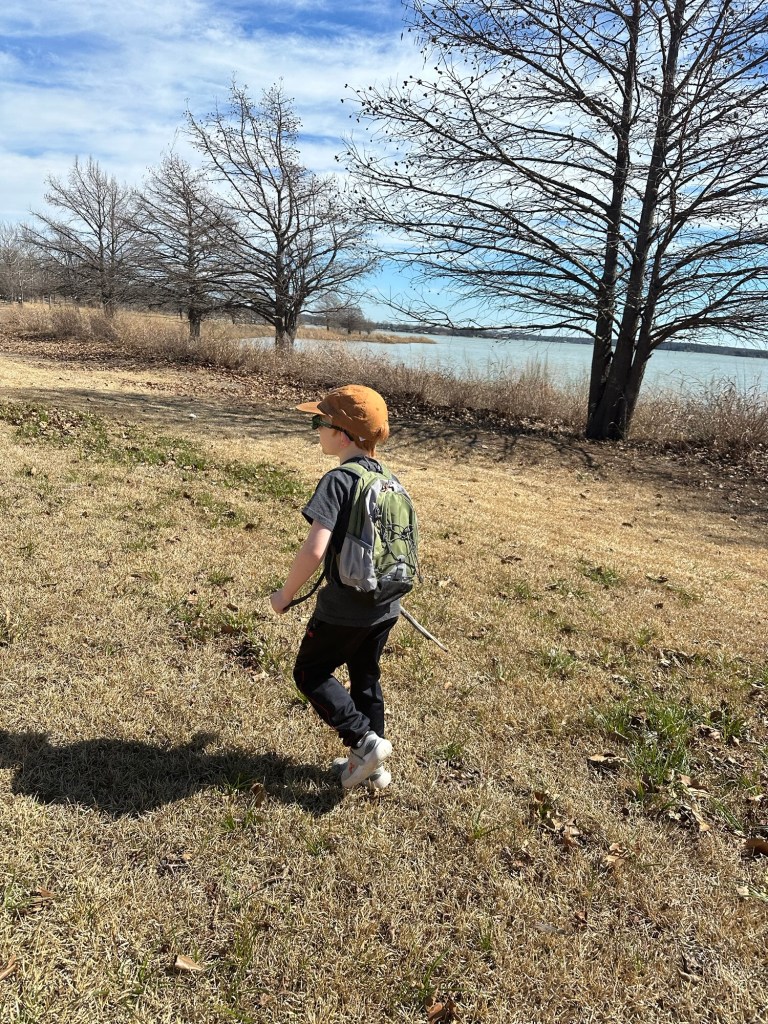
On a beautiful Texas day, with The Dangerous Book for Boys in hand, we ventured to the park on the lake for some survival skills lessons. Spending a day at a park by the lake is not just about enjoying nature—it’s an opportunity to teach essential outdoor survival skills.

Why Teach Outdoor Survival?
- Practical Life Skills: Knowing how to find directions, start a fire, or purify water can be useful in emergencies.
- Confidence Building: Learning survival techniques fosters independence and problem-solving skills.
- Connection to Nature: Understanding the environment deepens appreciation and respect for the outdoors.
Story: A Day of Learning in the Wild
As we walked, I asked, “How many days do you think you could survive without water?” The guesses ranged from “A week?” to “a few hours” When I told them the real answer—three days—they were surprised. “And what about food?” I asked next. “One day?” one guessed. “Three days?” another said. They were shocked to learn that humans can survive for about three weeks without food, though not comfortably!
- Water Purification Discussion: Explain how to make water safe to drink and why it’s important.
- Survival Timeline: Discuss how long you can survive without water (3 days) and food (3 weeks).
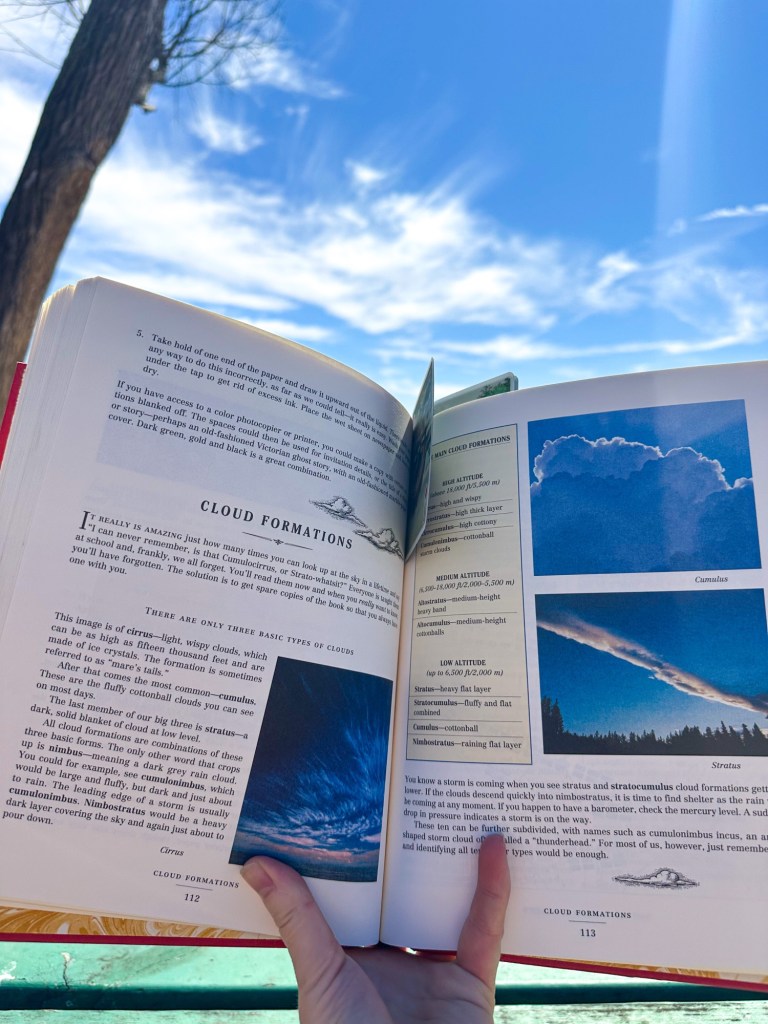
Observing the Weather
Looking up at the sky, we talked about cloud types. “See those wispy clouds?” I pointed. “Those are cirrus clouds, and they often mean a weather change is coming.” We watched the clouds drift and talked about how the wind moves them, another clue to predicting the weather.
- Weather Observation: Identify cloud types and discuss weather patterns.
- Notebook Activity: Record observations about the sky and discuss weather prediction.

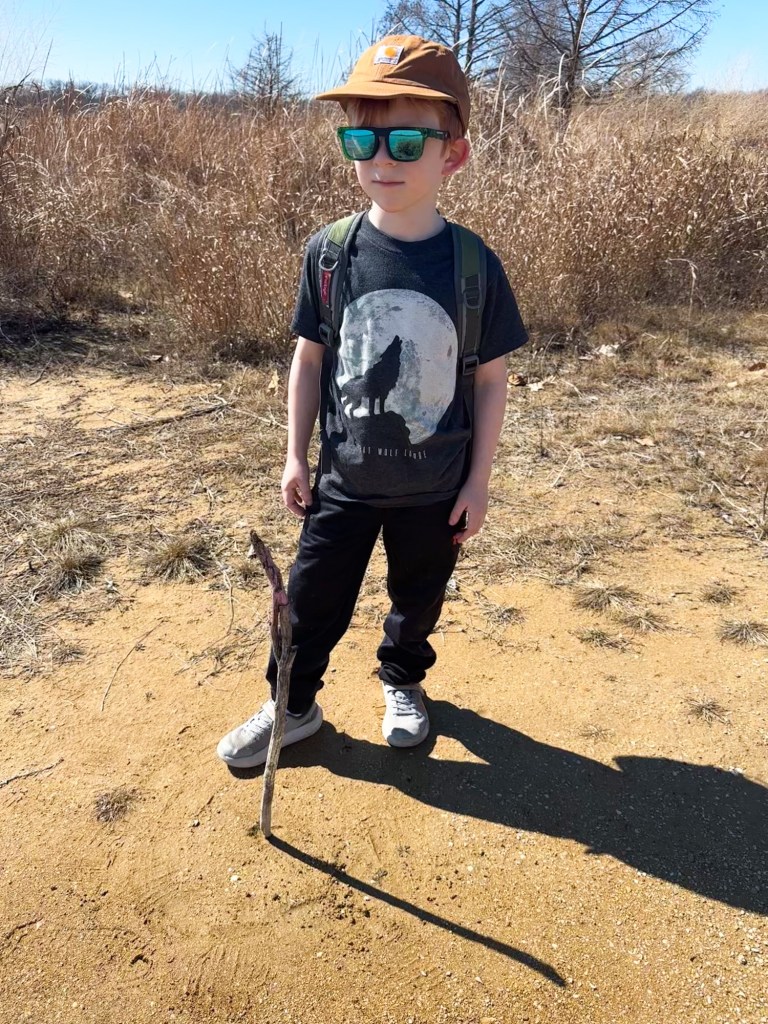
Navigating with a Compass
We pulled out a compass and experimented with finding our way. “Which way is north?” I asked, and the kids spun in circles, guessing wildly. Once they got the hang of how the compass worked, they enjoyed following different bearings and figuring out how they could use it if lost in the woods.
- Navigation Activity: Teach how to use a compass and let kids practice finding directions.
Making Time with the Sun
We found a good spot to put a stick in the ground and watched its shadow move. “This is how people used to tell time before watches and phones,” I explained. The kids found it fascinating that something as simple as a shadow could help determine time.
- Sundial Experiment: Create a simple sundial using a stick and observe how the shadow moves.
Shelter and Staying Dry
We discussed shelter-building, talking about what makes a good spot to stay dry and warm. “What if you got caught in the rain?” I asked. One kid confidently said, “I’d just find a cave!” Another thought hiding under a tree would work. We talked about the importance of insulation and structure.
The kids’ feet got wet near the water, and the struggle to walk back to the car became real. “Now imagine if you were out in the woods for hours,” I said. “How could you dry your clothes?” We discussed using the sun and airflow, and they started problem-solving ways to dry out quickly.
- Shelter Building Discussion: Talk about different types of shelters and how to stay dry in the wild.
- Hands-On Shelter Craft (Follow-up activity at home): Build small-scale models of different shelter designs using gathered materials. See below!
- Staying Dry Lesson: Discuss the importance of staying dry and how to sun-dry clothes.
Building Small-Scale Shelters: Hands-On Survival Learning
Teaching kids about survival shelters is a fun and practical outdoor lesson, even on a small scale. Using sticks, leaves, bark, and other natural materials, kids can experiment with different types of shelters to learn about structure, insulation, and protection from the elements. Here are five simple shelter models you can build together:
1. Lean-To Shelter
A lean-to is one of the simplest shelters to construct. Prop small sticks or branches against a larger log, tree, or rock to create a slanted roof. For added coverage, pile leaves, grass, or pieces of bark on top. This design helps block wind and rain while providing some overhead protection.

2. A-Frame Shelter
To build an A-frame, arrange two sticks in a triangle shape and secure them at the top. Lay smaller sticks across to create a frame, then cover the structure with leaves or pine needles for insulation. This shelter provides coverage from multiple directions and can keep warmth inside.
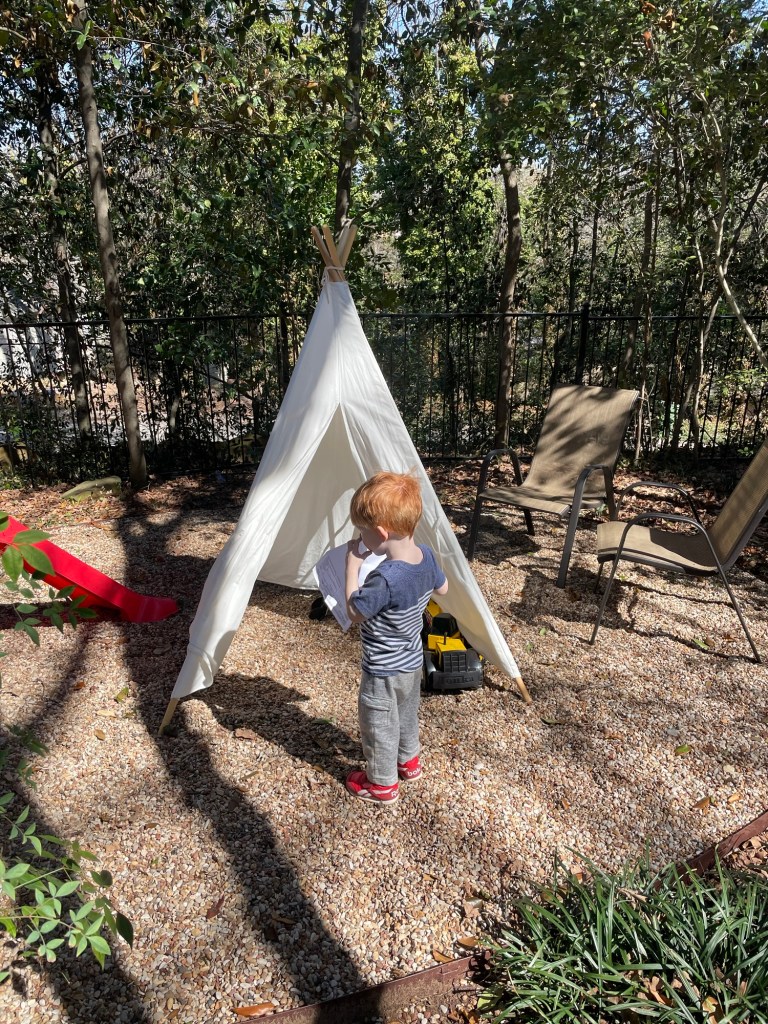
3. Teepee Shelter
Using longer sticks, form a cone shape by leaning the tops together and securing them with twine or vines if available. Weave smaller twigs or leaves into the gaps to create walls. This classic design is great for learning about stability and weight distribution.
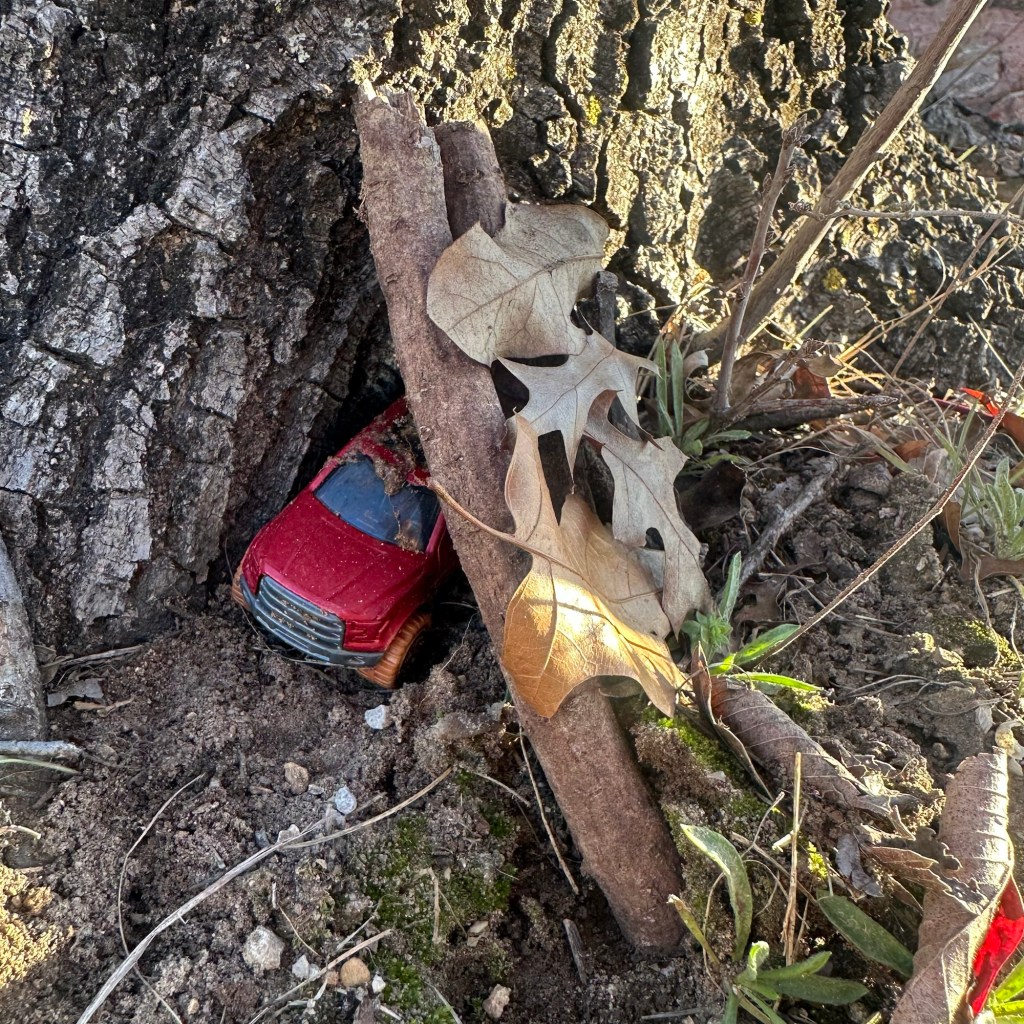
4. Debris Hut
Start by making a small frame with sticks, then pile leaves, moss, or bark over the top to mimic how animals build their nests. The thicker the debris layer, the better the insulation. This shelter is designed to trap body heat, making it a great lesson in survival strategies.
5. Log Cabin Shelter
Similar to building with Lincoln Logs, stack small sticks in a square or rectangular shape to form walls. Leave an opening for an entrance and use bark or leaves for a slanted roof. This design introduces kids to the basics of construction and stability.
Hands-On Experiment: Shelter Testing
After building their shelters, kids can test them by:
- Blowing on them like the Big Bad Wolf to see how sturdy they are.
- Sprinkling water over them to check how well they repel moisture.
- Observing how much shade or wind protection they provide.
Encouraging kids to problem-solve and adjust their designs makes this an engaging, interactive survival lesson. Plus, it sets the stage for larger-scale projects in future outdoor adventures!
Final Thoughts
This adventure was just the beginning. The kids had fun, learned valuable lessons, and asked plenty of questions. Next time, we’ll tackle fishing and more hands-on survival skills. Until then, we’ll keep exploring and learning—because nature is the best classroom of all.

Leave a comment