
DIY Coffee or Tea-Dyed Paper Labels for Halloween Potion Bottles
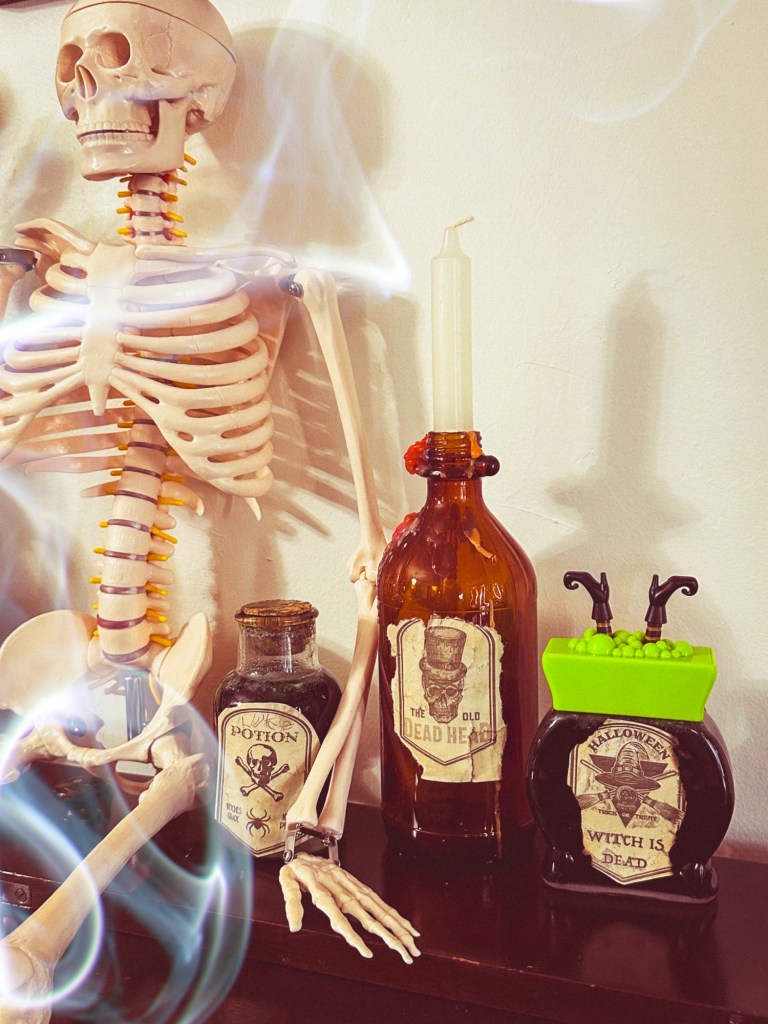
Looking to add a touch of vintage charm to your Halloween decor? Whether you’re crafting potion bottles for a spooky mantel or throwing a witchy Halloween party, coffee or tea-dyed paper labels are the perfect way to make your potion bottles look centuries old. The process is simple and adds an authentic, aged appearance that will complement any Halloween theme. Here’s a step-by-step guide on how to create these eerie labels.
Materials Needed:
• White or light-colored paper (printer paper, cardstock, or even a recycled paper bag)
• Strong-brewed coffee or tea (black tea works best)
• A paintbrush or sponge
• Scissors
• Black marker or pen
• Bottles, we used our left over cupcake Halloween sprinkle bottles.
• Optional: Lighter or candle for edge burning, Halloween-themed stamps, or stencils for decoration
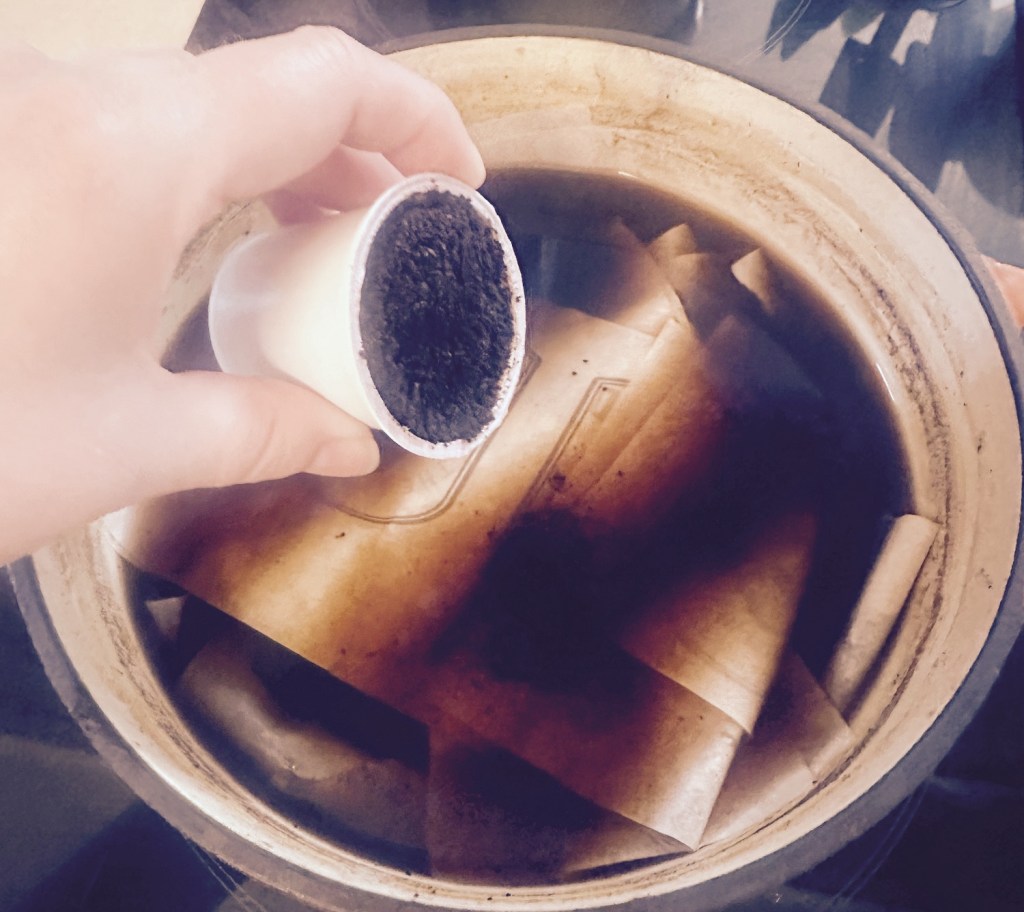
Step 1: Brew Your Coffee or Tea
Start by brewing a strong pot of coffee or tea. If you want a darker, more aged look, the stronger the better. Allow it to cool slightly so it doesn’t warp the paper too much when applied. I used leftover K cups for my coffee grounds.
Step 2: Prepare Your Paper
Cut your paper into blank label shapes or print templates from online. You can go for traditional rectangles or get creative with oval or scroll shapes. You can Roughly tear the edges of the paper after they are stained if you want a more distressed, old-world look.
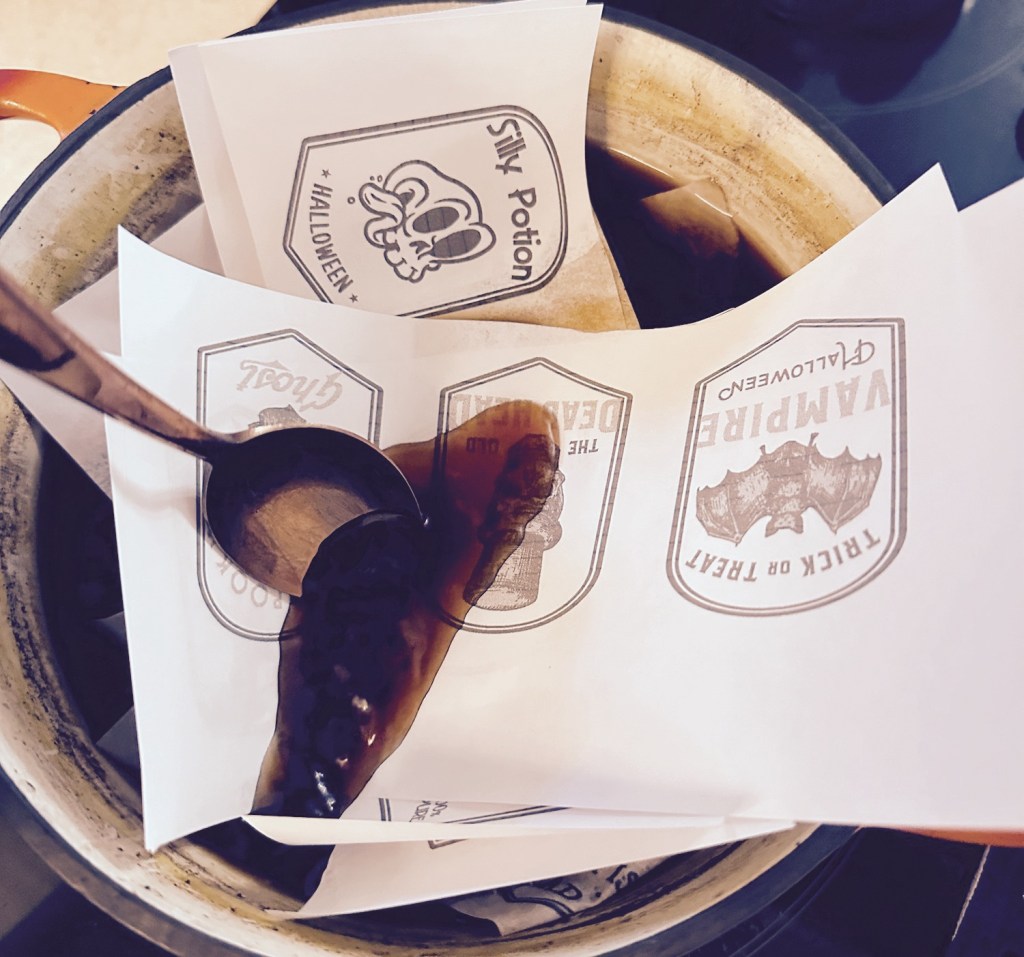
Step 3: Staining the Paper
Dip your paper into the brew or Lay your cut labels flat on a non-porous surface. Using a paintbrush or sponge, lightly coat the paper with your coffee or tea. For a more aged effect, you can also dip the edges or drip the coffee in random spots. Let it soak in for a few minutes, then pat off the excess with a paper towel.
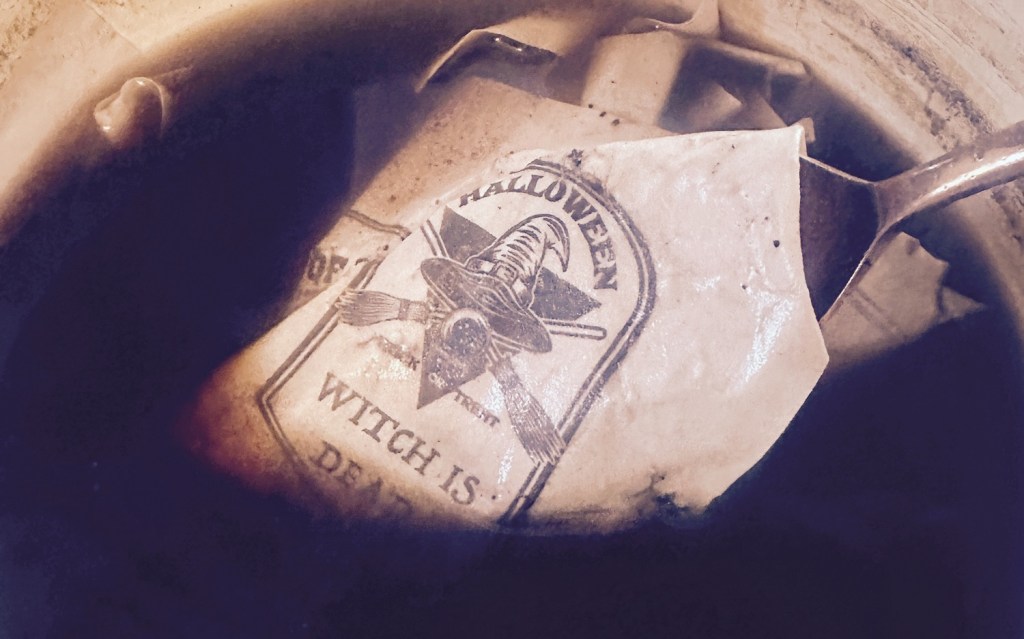
Step 4: Let Them Dry
Let your stained labels dry for a few hours or overnight. If you’re in a hurry, you can speed up the drying process by placing them in the sun.

Step 5: Add Some Spooky Details
Once dry, the paper will have a rich, weathered look. Now comes the fun part—decorating your labels! Use a black marker or pen to write spooky potion names like “Witch’s Brew,” “Spider Venom,” or “Dragon’s Blood.” For an extra touch of eerie authenticity, burn the edges lightly with a candle or lighter, but do this carefully!
Step 6: Attach the Labels to Your Potion Bottles
Once your labels are complete, attach them to your potion bottles with twine, string, or glue. You can even use wax seals to enhance the vintage look. Fill your bottles with colored water, glitter, or even small fake spiders for the ultimate Halloween vibe.

Bonus Tips:
• Use different strengths of coffee or tea to create varied aging effects.
• Consider adding some Halloween-themed stamps or stencils to your labels for a bit of extra flair.
• For a more crinkled, timeworn look, crumble the paper lightly before staining and flatten it out again. Even tear the labels out instead of cutting.
Conclusion
Creating coffee or tea-dyed labels is a quick, easy, and affordable way to bring a vintage vibe to your Halloween potion bottles. This little DIY trick will give your Halloween decor that perfect spooky touch, whether you’re going for a haunted house theme or a magical witch’s lair.
Happy crafting, and may your Halloween be delightfully eerie!

Leave a comment